































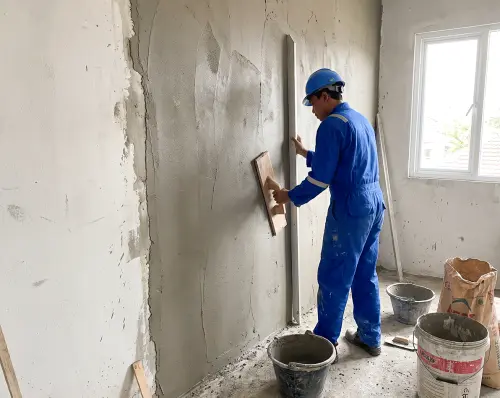
In the process of building or renovating a house, the sequence of wall construction stages strongly determines the durability and smoothness of the final paint job. One vital stage between bricklaying and painting is the skim coating (acian) process. Carefully applying the skim coat is the main determinant of whether your house's wall paint will appear smooth, perfect, and long-lasting, or peel and crack quickly.
Although the term skim coating is very familiar to the public, many homeowners still misunderstand the difference between wall plastering and wall skim coating. Ignoring the quality of the skim coat or rushing to paint the wall before the skim coat layer is perfectly dry is the main cause of house painting failures, such as chalking, alkaline spots, or hairline cracks.
Then, what exactly is the definition of a wall skim coat, what are its functions for building durability, and when is the most appropriate time to apply it before painting? Read the following technical review and practical guide from Avian Brands!
Definition of Wall Skim Coat and Its Difference from Plaster
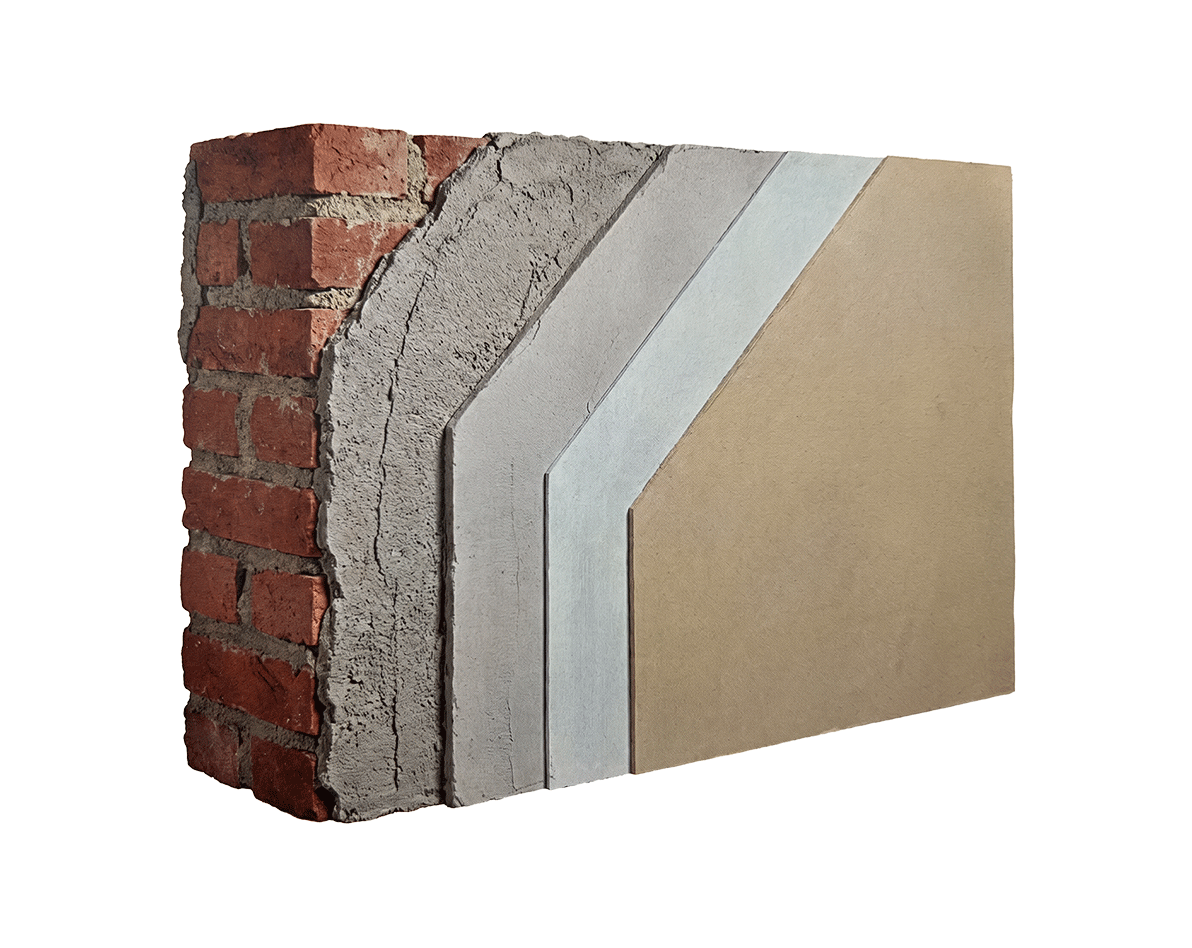
Many laypeople think that skim coating and plastering are the same thing. In fact, they are two different layers of material with their own compositions and functions:
-
Wall Plaster: A layer of cement dough, fine sand, and water applied directly to red bricks, concrete blocks, or lightweight concrete blocks (hebel). The main function of plastering is to cover the brickwork frame, straighten sloping wall surfaces, and add structural thickness (usually 1.5–2 cm).
-
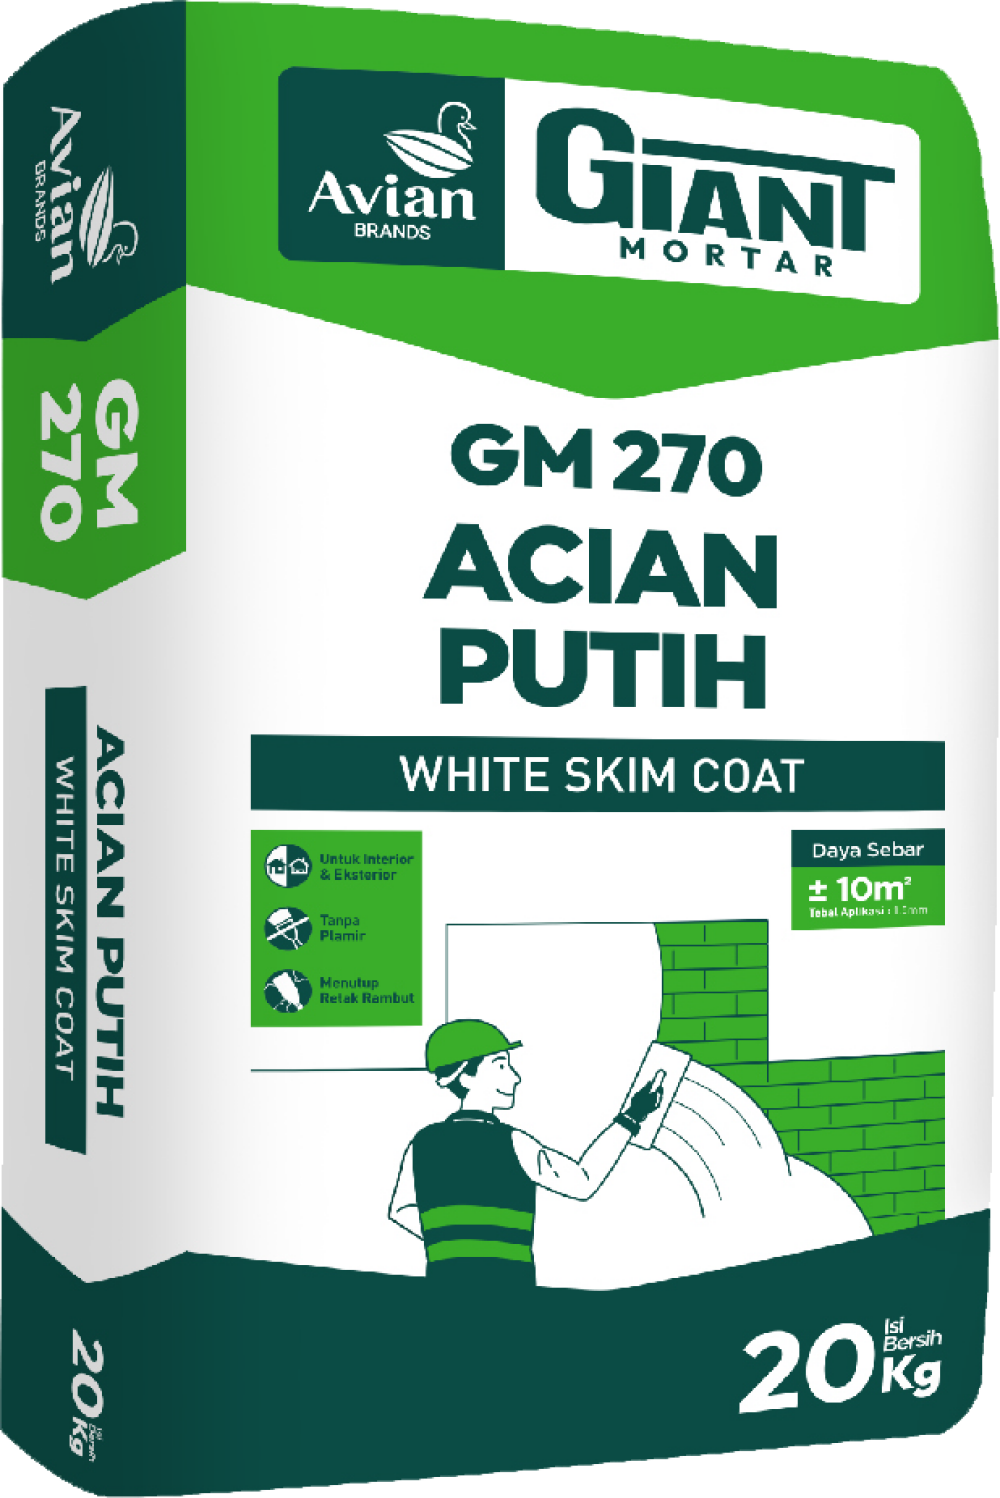
Wall Skim Coat: A very thin layer (ideal thickness of 1.5–3 mm) consisting of pure cement dough (or instant cement) and water without a sand mixture. The skim coat is applied to a semi-dry plaster surface to cover the sand pores in the plaster.
In short, plaster functions to level the wall structure, while the skim coat functions to smooth the wall surface so it is ready to receive a coat of paint.
Main Functions of Wall Skim Coat Before Painting
The skim coating process is not just an aesthetic complement, but a foundation of wall protection that has very important functions:
1. Smoothing the Wall Surface
The smooth cement skim coat dough covers all the pores in the coarse sand of the plaster. The result is a wall surface that feels very smooth, even, and slick when rubbed, allowing the wall paint to adhere perfectly without looking speckled.
2. Reducing Paint Liquid Absorption
Cement plaster without a skim coat is very porous and absorbs large amounts of liquid. The application of a wall skim coat serves to plug these micro-pores, so the finishing wall paint liquid on top of it is not excessively absorbed. This significantly saves the use of wall paint liquid.
3. Preventing Leaks and Fine Water Seepage
A dense and tight skim coat layer increases the water resistance of the wall surface, preventing water vapor from the outside from seeping directly into the brick plaster.
When is it Mandatory to Apply a Wall Skim Coat?
The wall skim coating process is mandatory under the following residential project conditions:
-
New House Construction: All new interior and exterior plastered walls must be skim-coated before being painted.
-
Renovation of Rough or Damaged Walls: Old walls with severely peeling or wavy surfaces, or where the old paint layer has been completely scraped off, require re-skim coating to become smooth again.
-
Mass Hairline Crack Wall Repair: Old walls that have a widespread pattern of fine cracks at many points should be covered with a new thin skim coat (re-facing) before repainting.

Ideal Waiting Time and Preparation for Painting After Skim Coating
The most common mistake is rushing to paint a newly skim-coated wall. Follow these waiting time rules and important preparations so the paint adheres permanently:
1. Skim Coat Drying Waiting Time (Curing Period)
Traditional cement skim coats require an ideal drying and chemical reaction time (curing time) of 21 to 28 days. During this period, the moisture inside the skim coat will evaporate, and the high alkaline level of the cement will drop to a safe limit (pH below 9).
2. Gentle Light Sanding
After the skim coat is perfectly dry and evenly light gray in color, gently sand the skim coat surface using fine sandpaper (grit 240 or 360) to remove residual cement particles.
3. Application of Alkali Resisting Primer
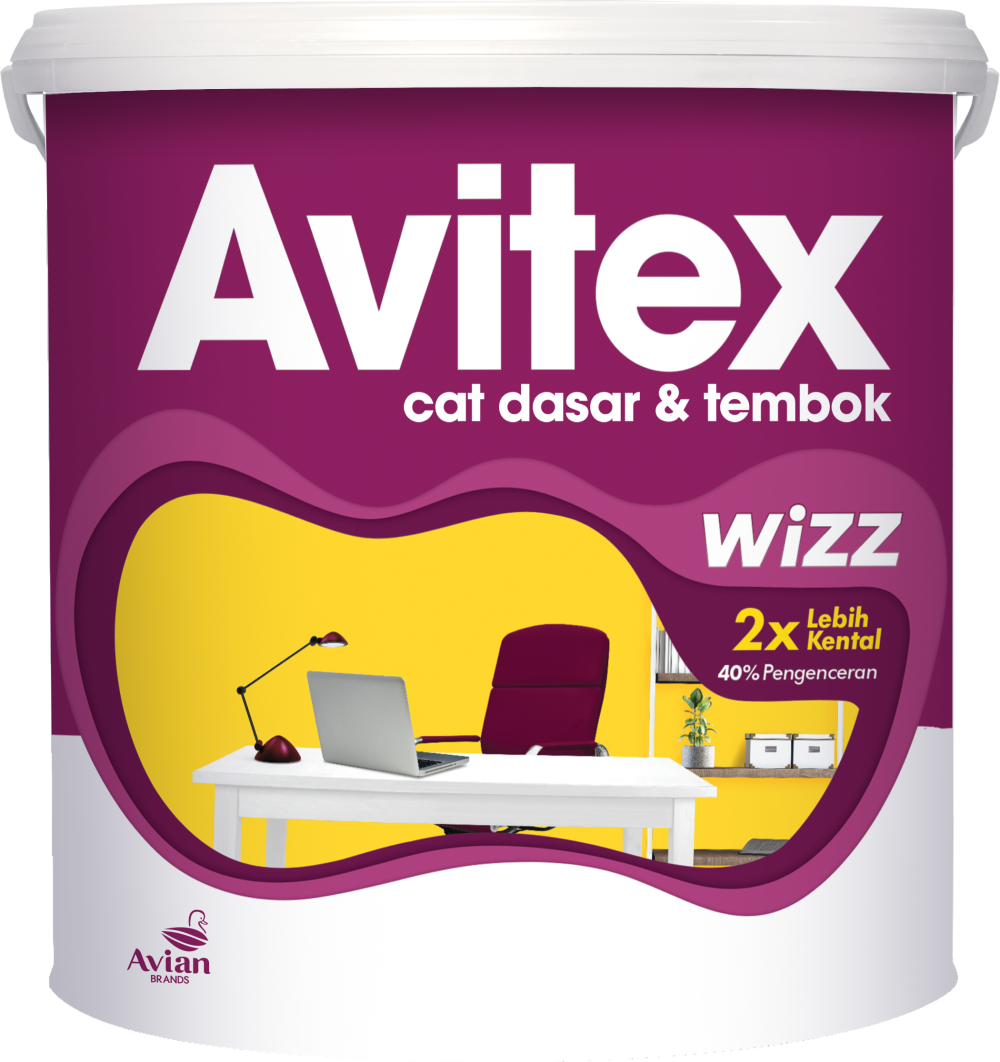
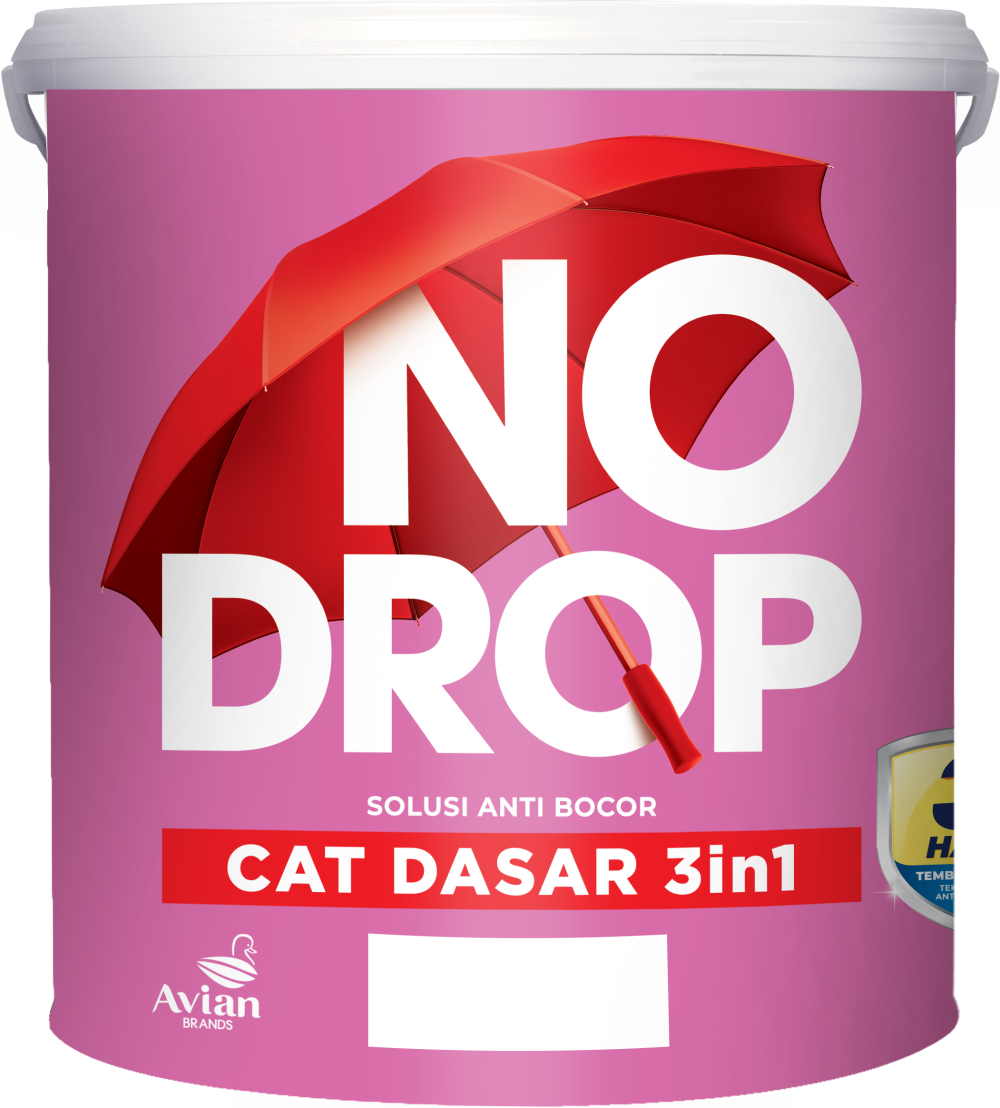
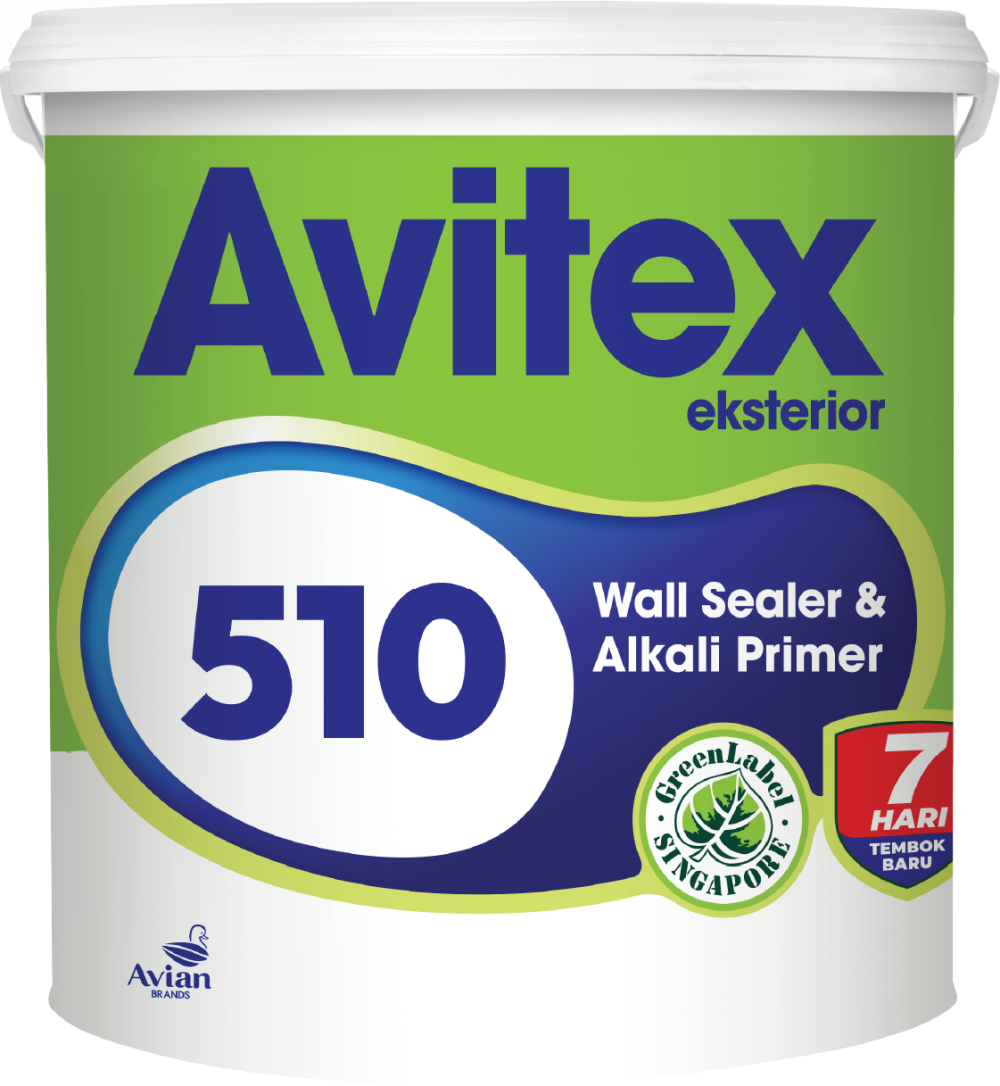
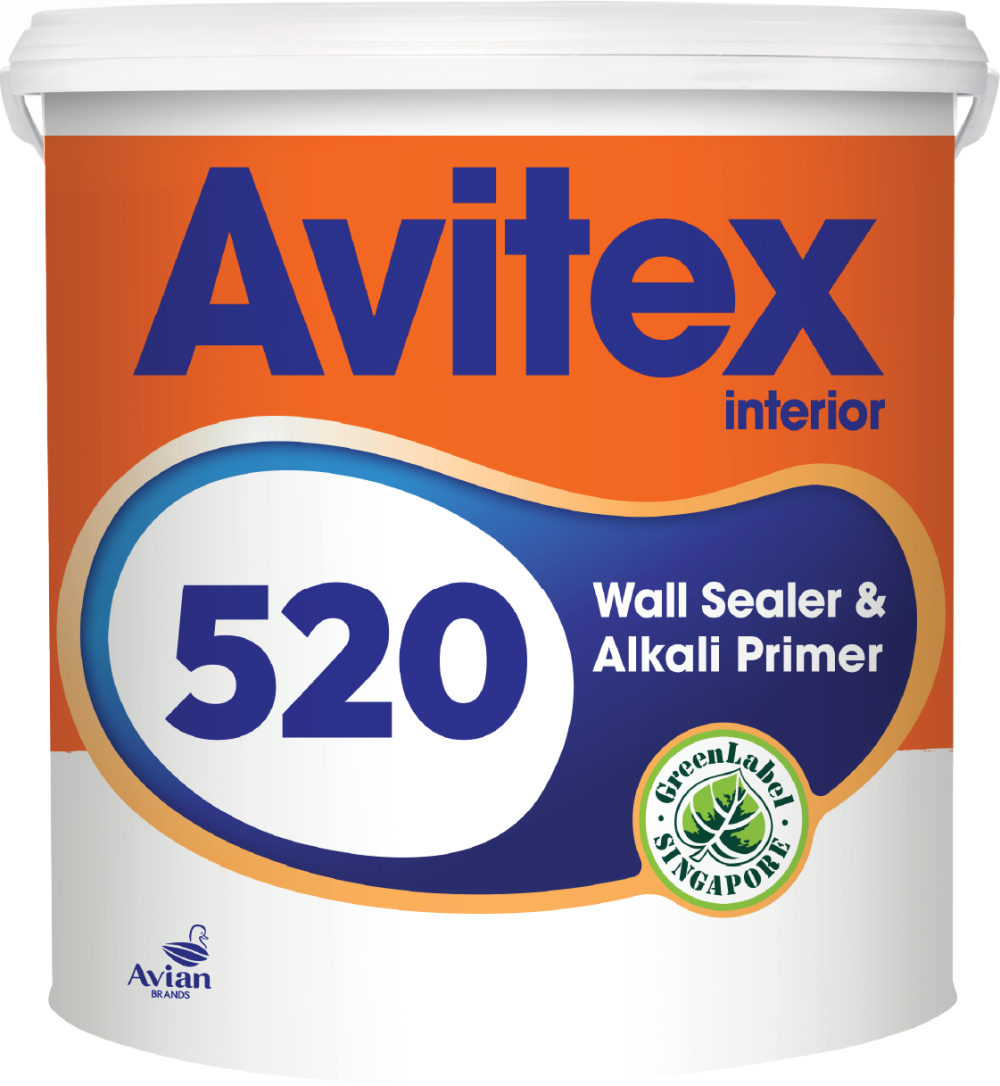
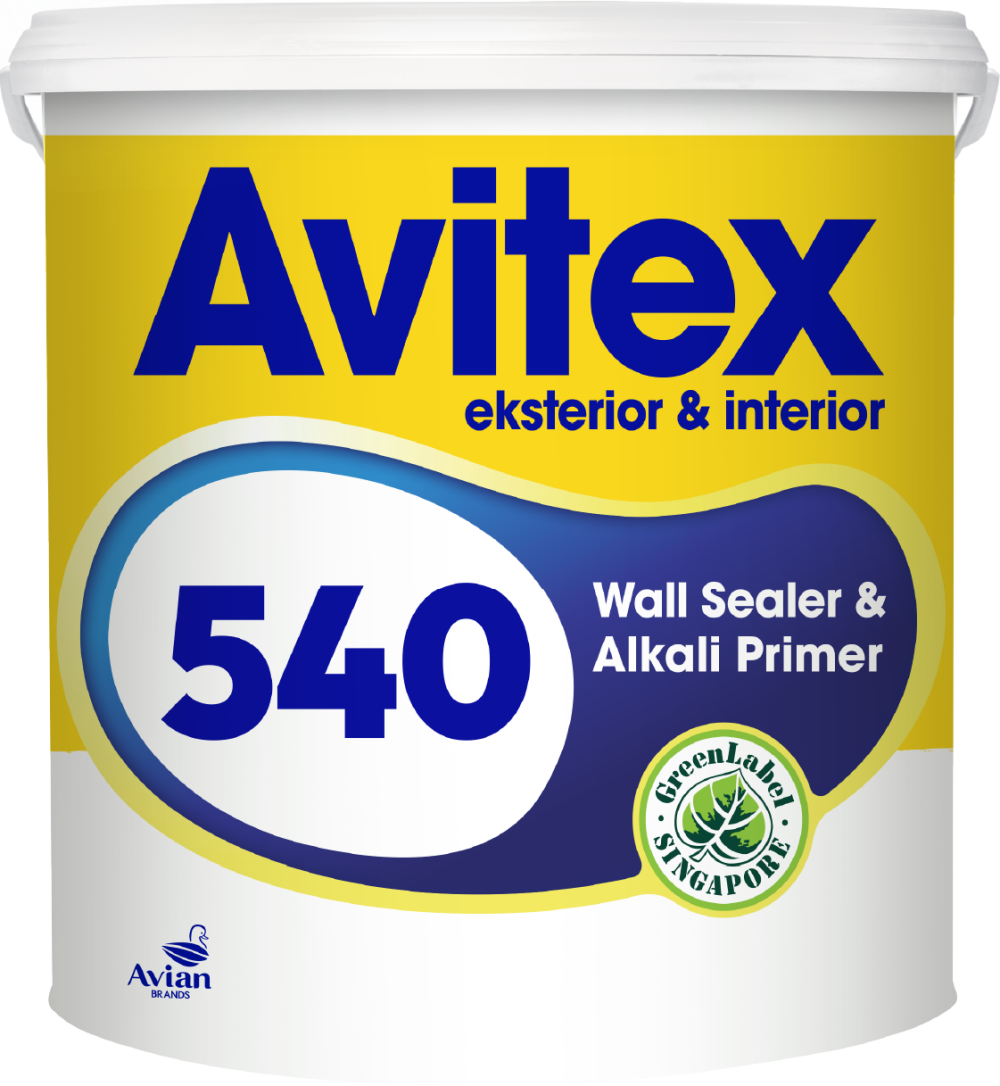
Before applying your chosen wall paint color, it is mandatory to coat it with 1 layer of Alkali Resisting Primer base coat. This base coat locks in residual cement alkali so it does not damage the color pigments of the finishing paint on top. You can use Avitex Alkali Resisting Primer from Avian Brands, which is specially formulated to block cement alkali to the maximum, ensuring the finishing paint color remains bright and lasts longer.
Recommended Wall Paint After Skim Coating: Avitex Gold
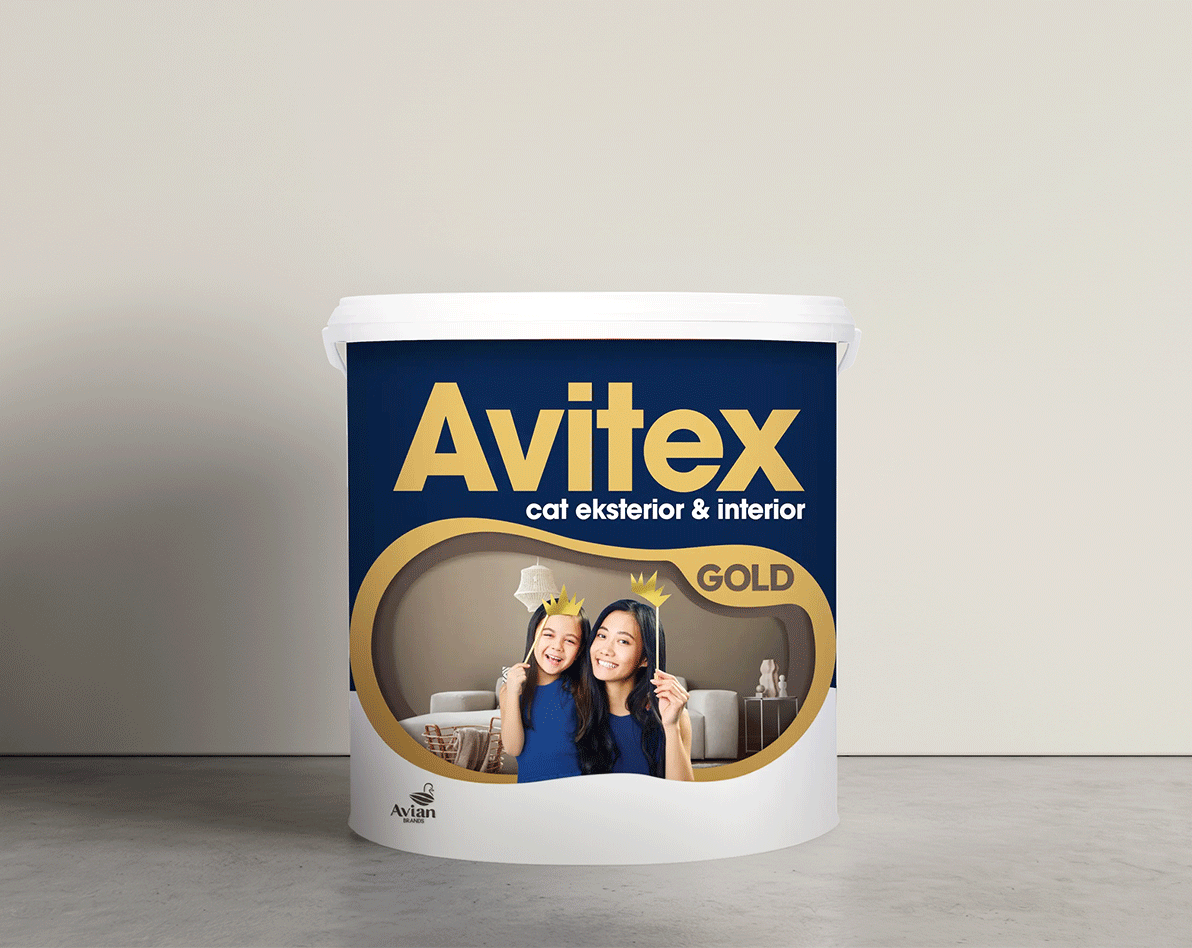
Once your house's wall skim coat layer is ready and primed, perfect the beauty of your residential walls with a finishing paint coat from Avian Brands: Avitex Gold.
Advantages of Avitex Gold from Avian Brands:
-
Extra High Hiding Power: Highly effective at covering skim-coated wall surfaces with a dense, smooth, and rich layer of color.
-
Luxurious Smooth Matt Finish: Provides a wall appearance that is non-glaring and feels very soft to the touch.
-
Alkali and Weather-Resistant Pigments: Keeps the wall color bright, beautiful, and free from the dangers of discoloration or chalking caused by residual skim coat alkali.
-
Multifunctional for Exterior and Interior: Can be perfectly applied to both the exterior and interior walls of the house.
-
Safe, Free from Mercury and Lead: Formulated to be environmentally friendly and safe for the respiratory health of the entire family.
Make sure the wall skim coating process for Avian Brands Friends' houses is done correctly, and provide the best touch of color with Avitex Gold from Avian Brands!